

Why screenshots destroy image evidence
A screenshot is not a copy of an image. It is a new image of an image. By the time it reaches you, the file has usually passed through at least three lossy steps: the original upload, the platform's re-encode, and the screen capture itself.
That is why screenshot image evidence is so thin: each step removes information rather than adding it. Understanding what survives, and what does not, is the difference between a defensible review and a guess.
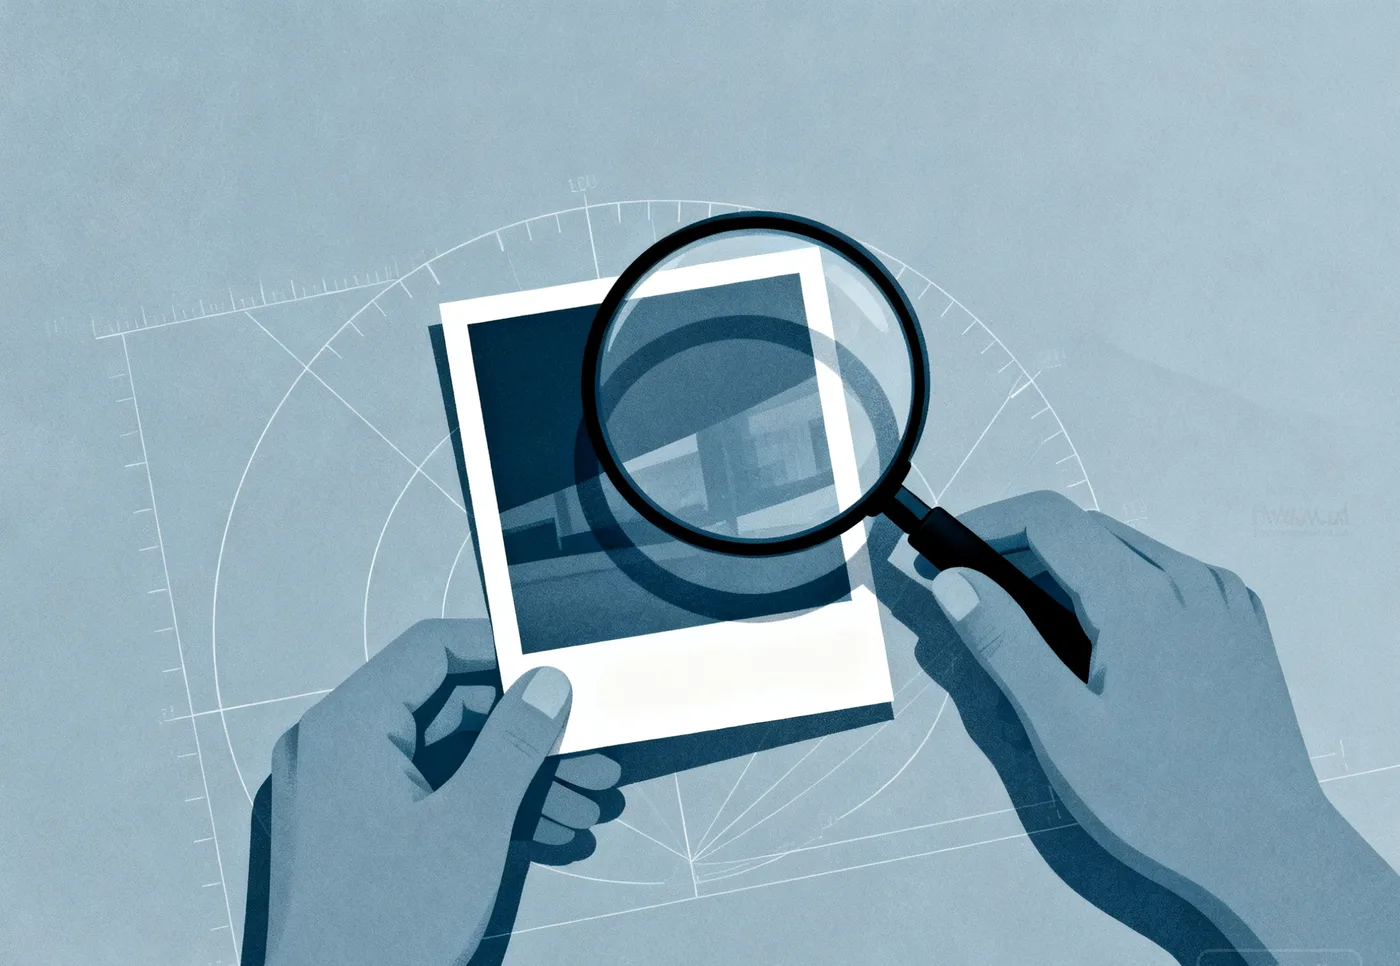
What a screenshot removes
A C2PA manifest lives in specific bytes of the container. A screen capture writes a fresh container with a fresh encode, so the manifest is gone. This is not tampering. It is a side effect of how screenshots work.
EXIF capture data comes from the camera that wrote the original file. The operating system that captured the screen writes its own metadata, or none at all. Either way, the camera record is gone.
Compression artifacts are replaced. The original may have carried a fingerprint of its last encoder. The screenshot carries the screenshot tool's fingerprint instead, which tells you nothing about the source.

What a screenshot preserves
The visible content survives, which is not nothing. Layout, timestamps rendered into the image, account names, and interface chrome all persist visually. These are useful for context checks even though they carry no cryptographic weight.
If a screenshot shows a platform interface that did not exist until last month, the claimed date is wrong. If it crops out the account name and timestamp, that cropping is itself worth questioning.
Why this produces wrong verdicts in both directions
Run a detector on a screenshot and the score reflects the screenshot's statistics, not the original's. A clean photograph that has been captured, downsized, and compressed can carry artifacts that look synthetic. The detector is answering honestly about the file it received.
The opposite also happens. A generated image that was rendered and then screenshotted loses the container-level signals that would have flagged it. The screenshot launders the file.
Both failure modes come from the same cause: the file being measured is not the file that was created.
What to do instead
Ask for the original file first. This single request resolves more cases than any tool. Someone who genuinely has the source can produce it. Someone who does not will go quiet, which is also information.
When the original is unavailable, say so explicitly in your assessment. "Inspected a recompressed screenshot, no provenance or capture metadata present" is a defensible statement. "This image is AI-generated" based on a screenshot of unknown history is not.
What is still worth checking on a screenshot
Compare the visible interface chrome against the claim date. Look at the source framing, since a screenshot that removes the account name or the timestamp is worth questioning. Reverse search the visible content to find an earlier appearance, because that check works on visual features and survives recompression reasonably well. Read the methodology for how these checks combine.
Where provenance is missing, no original file exists, and the content cannot be traced earlier, the honest position is that the question is unresolved. Sample reports show how that ambiguity gets written up.
If you have an original file rather than a screenshot, start a free review and inspect the layers that a screenshot would have destroyed.